Deploy the server
We are going to deploy the server to a virtual machine on Kamatera. This process should work on any other cloud provider as well. All you need to have is access to a virtual machine with a public IP address.
We are taking into consideration that you already have a virtual machine running with Ubuntu.
You also need to have access to a PostgreSQL database. If you don’t have a PostgreSQL database, there are plenty of cloud providers that offer managed PostgreSQL databases. (One example is Render). If you don’t want to use managed database, you can always follow the steps to install PostgreSQL on your virtual machine. A nice tutorial can be found here.
Make sure you have docker installed on the virtual machine. You can install docker by running the following command, while connected to the virtual machine:
sudo apt install docker.ioYou can also find here a tutorial on how you can install Docker.
Publish the server
-
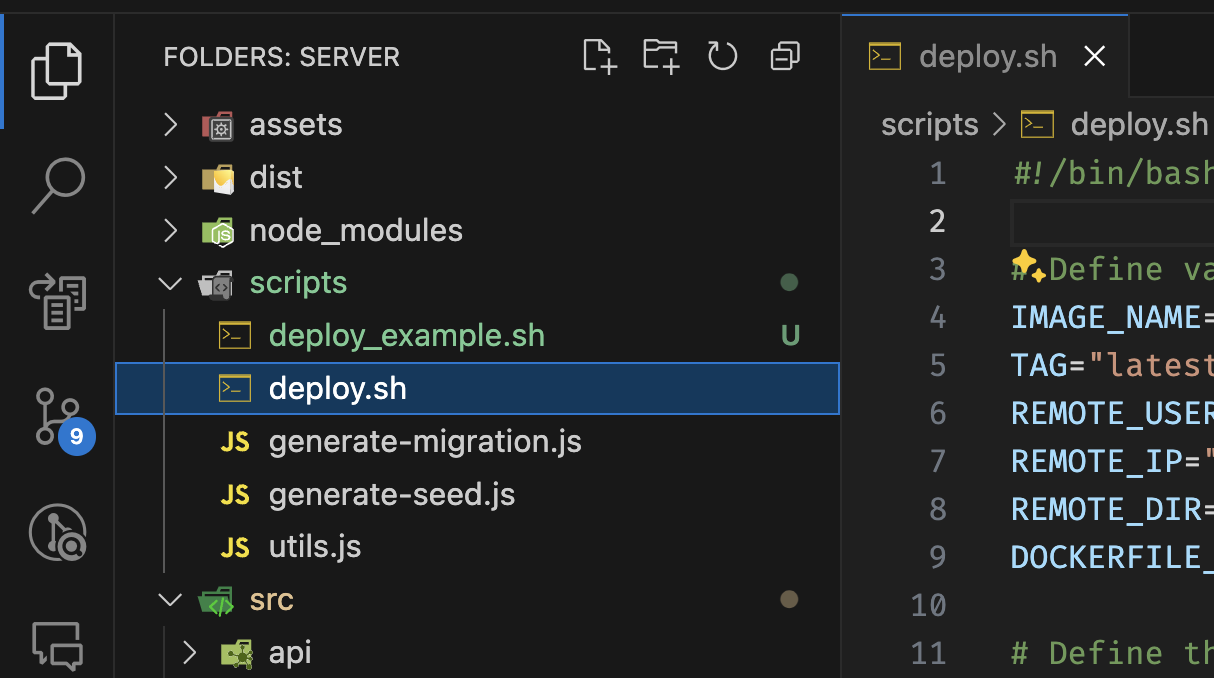
Create a new file inside the
scriptsdirectory calleddeploy.shand copy the content from thescripts/deploy_example.shfile.- make sure that you replace the
REMOTE_USER,REMOTE_IPandREMOTE_DIRwith the correct values.
REMOTE_USERis the user that you use to connect to the virtual machine.REMOTE_IPis the IP of the virtual machine.REMOTE_DIRis the directory where you want to deploy the server. (e.g.~/bazaryo)- make sure you give execute permissions to the script by running the following command from a terminal in the root of the server:
chmod +x ./scripts/deploy.sh
- make sure that you replace the
-
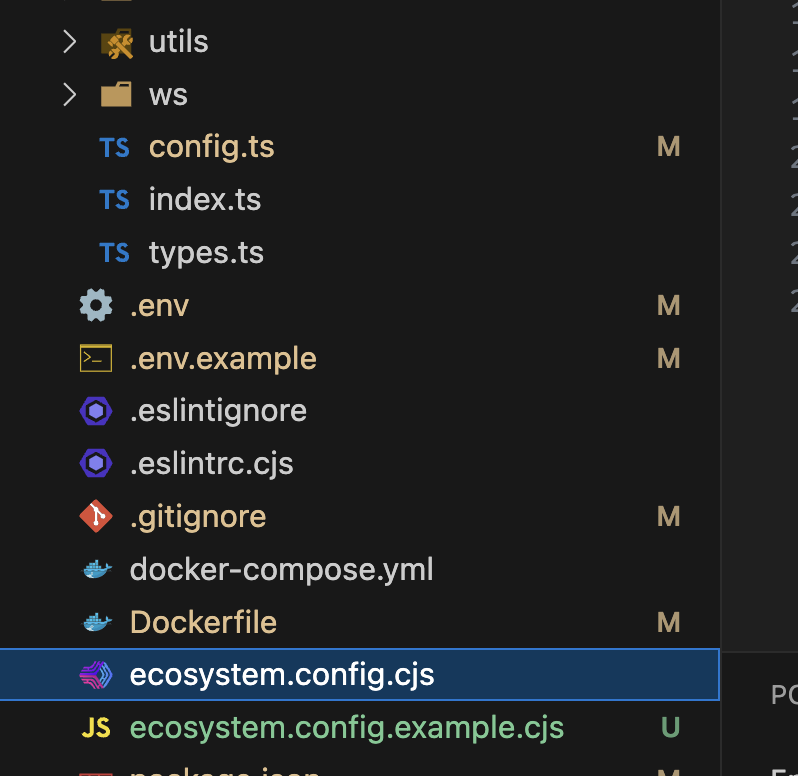
Create a new file inside the root of the server called
ecosystem.config.cjsand copy the content from theecosystem.config.example.cjs- make sure that you replace the values from the
envobject with the correct values. (These are the database credentials that you use to connect to the PostgreSQL database)
This file is used by PM2 to start the server. You can find more information about the ecosystem file here
- make sure that you replace the values from the
-
Open a terminal in the root of the server and run the following command to deploy the server:
npm run publish- Check if the server is running by accessing the IP of the virtual machine in the browser. You should see a message similar to
API HTTP SERVER 1.0.0.
You can also connect to the server using SSH and check the status of the docker container by running the following command:
docker ps -aYou should see a similar output as the following:

!!Note!! If you did not implement the
Integrate Google Cloud Storagetutorial, make sure that the server has enough access to store the files in the filesystem. If you implemented the tutorial, make sure that the server has access to the Google Cloud Storage bucket.
-
See server logs
- You need to take the container ID and run connect to it, by running the following command:
docker exec -it <container-id> sh- You can see the logs of the server by running the following command:
pm2 logs- You can also see the logs of the server by running the following command:
docker logs <container-id>You can find the container id by running the
docker ps -acommand.
Congratulations! You have successfully deployed the server to a virtual machine.