Firebase integration
Create Firebase project
Navigate to the Firebase Console and create a new project if you do not have one created.
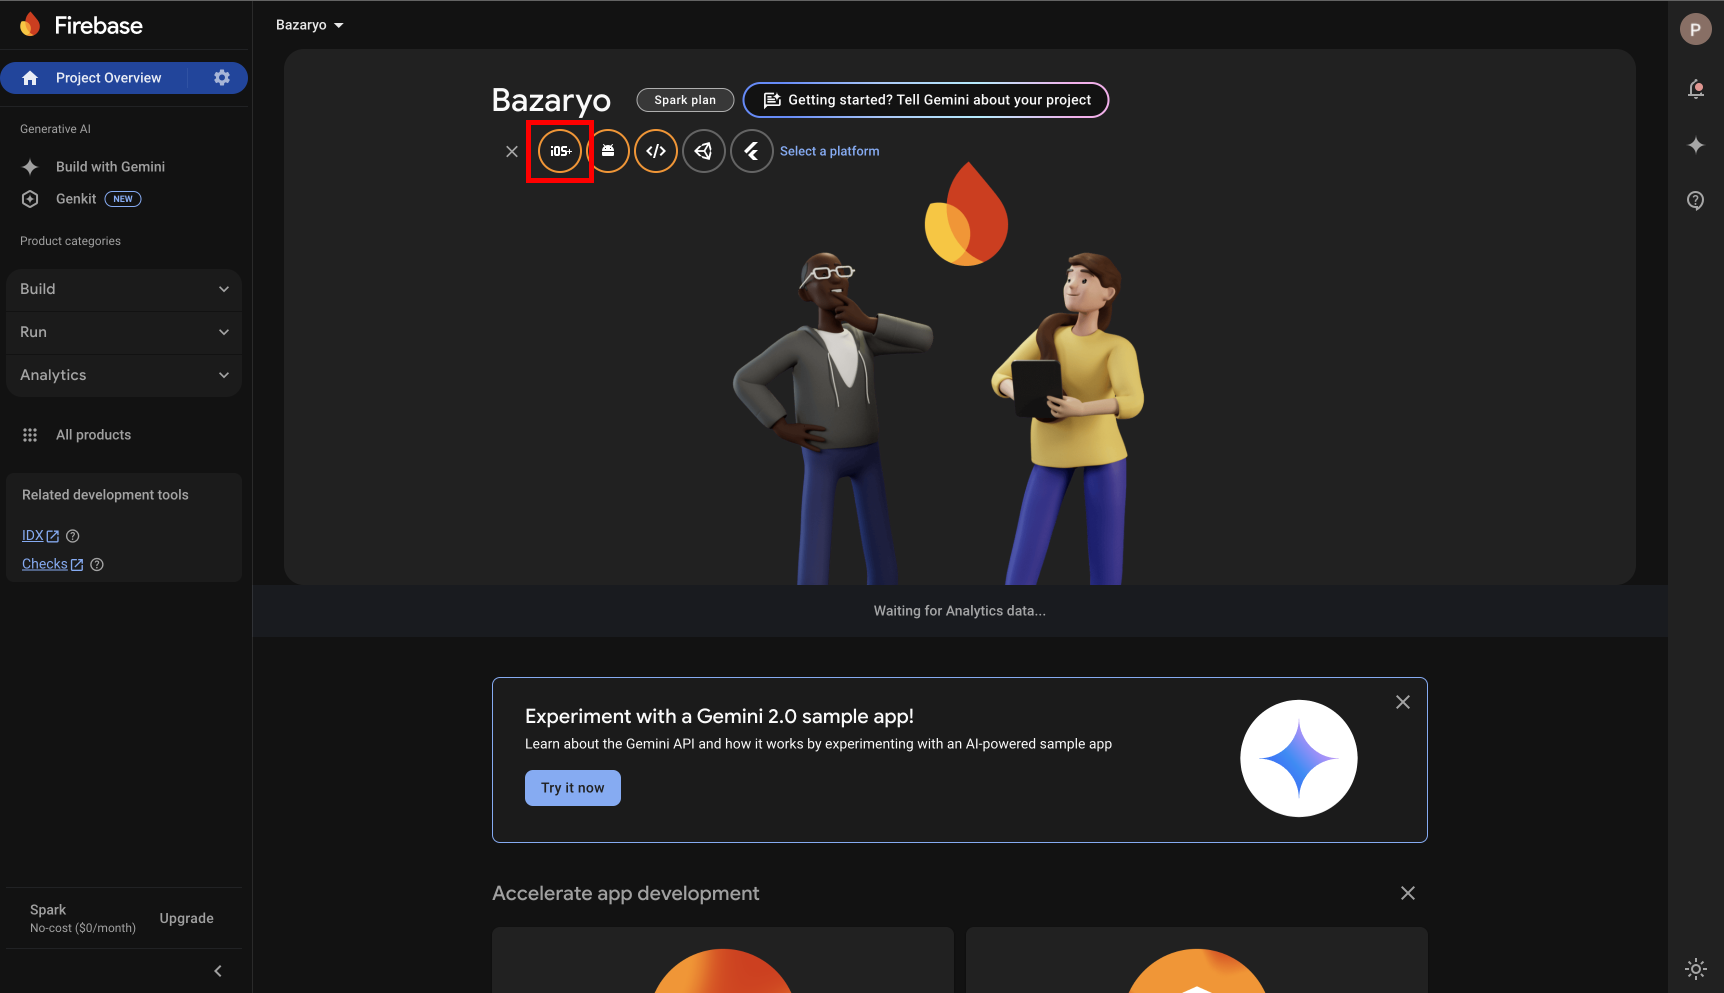
Add Android to the project

-
Make sure you are using the correct package name. You can find the package name in the
android/app/build.gradlefile -
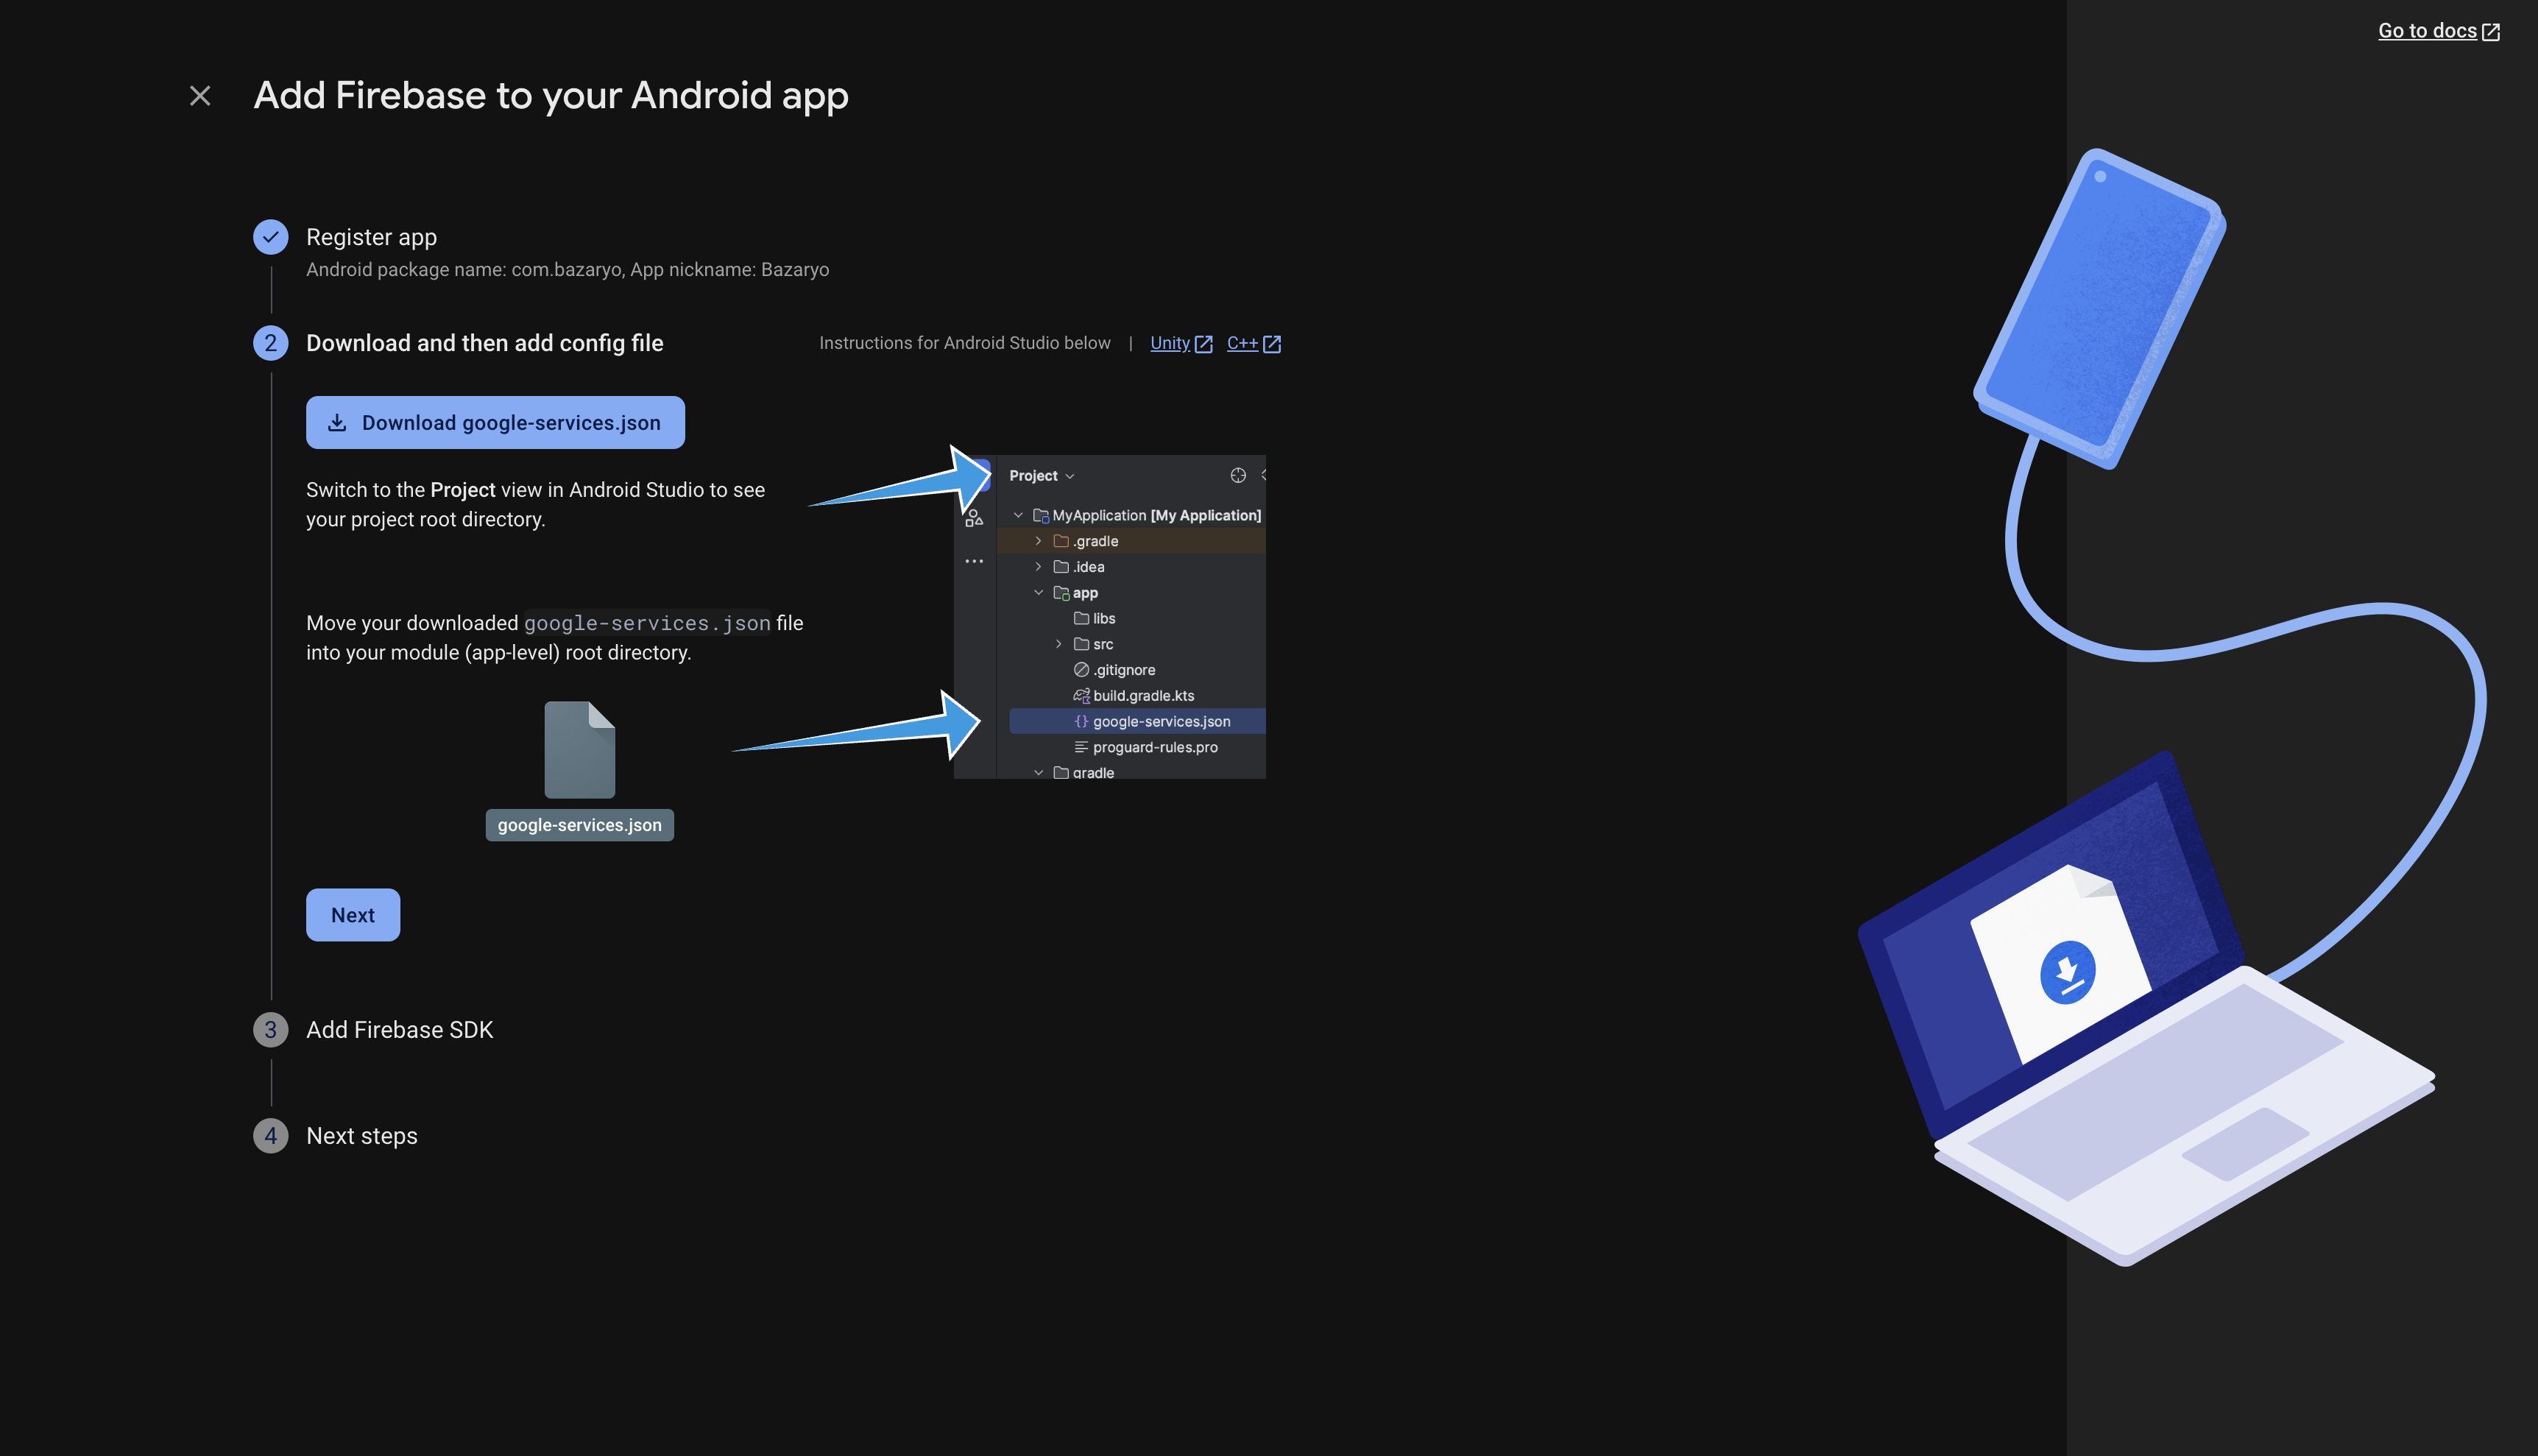
Make sure you download the
google-services.jsonfile and place it in theandroid/appdirectory
If you’re having issue while trying to login using Google on Android, make sure you have the
SHA-1key added to the Android Firebase project. You can generate and see the SHA-1 key by running the following command in the terminal:
keytool -list -v -keystore ~/.android/debug.keystore -alias androiddebugkey -storepass android -keypass androidAdd iOS to the project
-
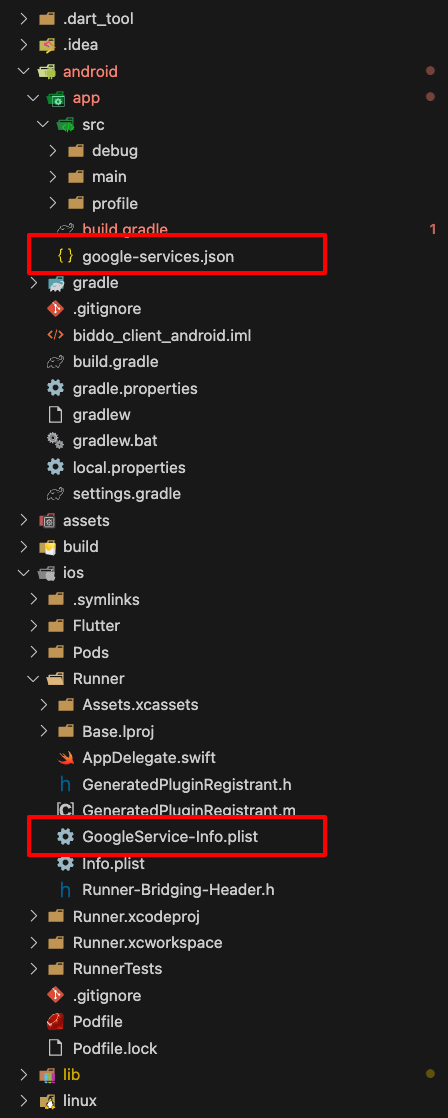
At the next step, make sure you download the
GoogleService-Info.plistfile and place it in theios/Runnerdirectory -
Make sure you have these two files inside the project
Configure iOS notifications
Follow the steps from the Firebase documentation to configure iOS notifications
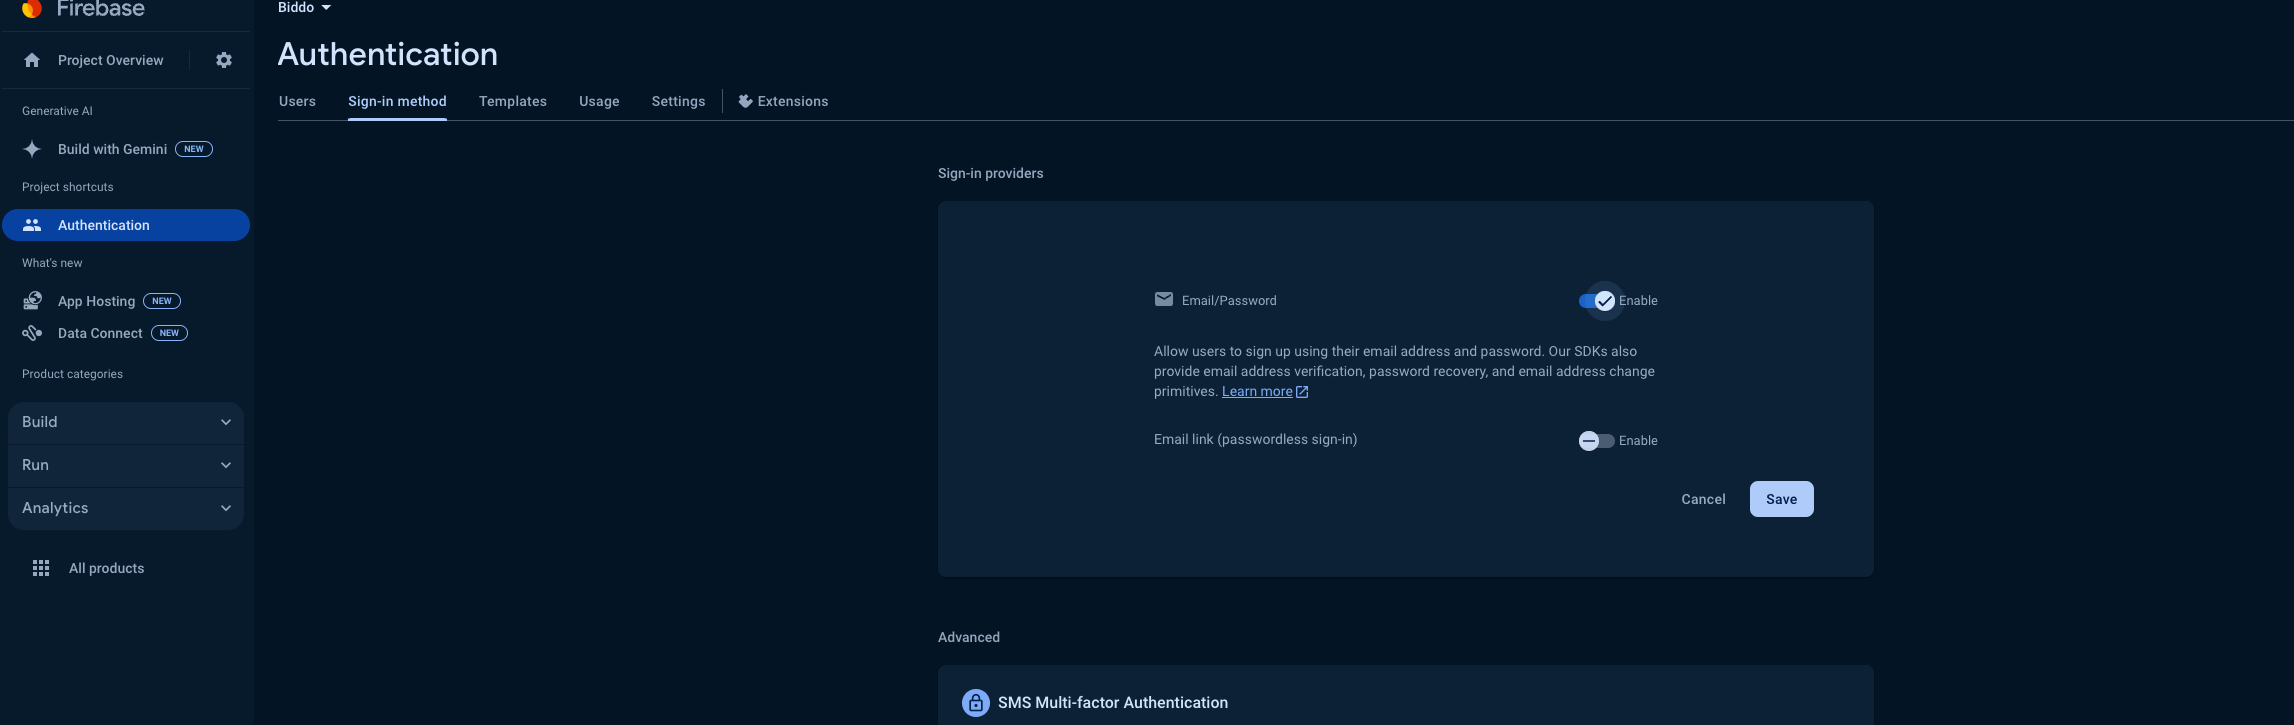
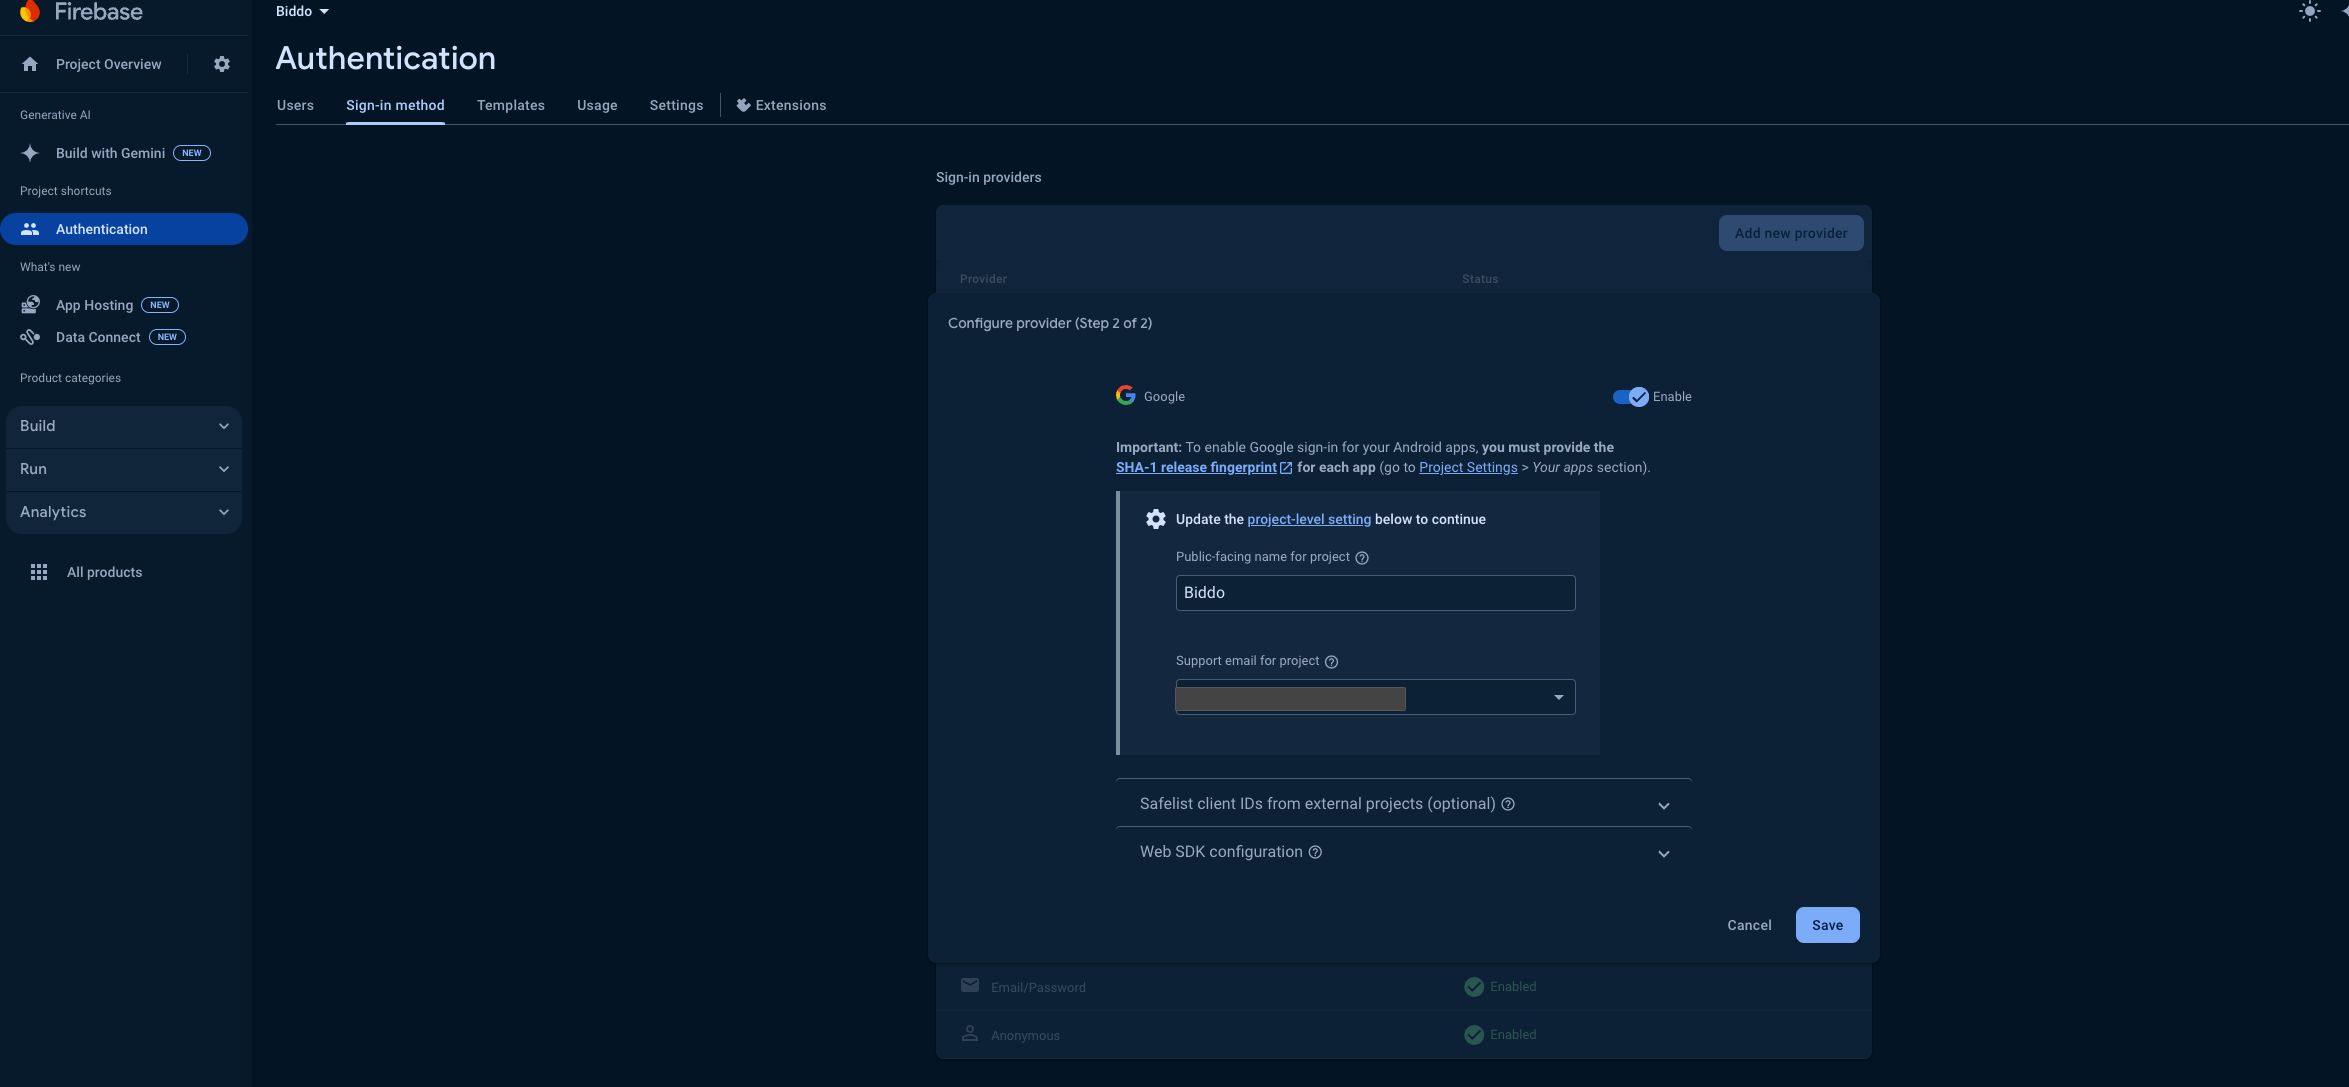
Enable Firebase authentication
We will enable the following authentication methods:
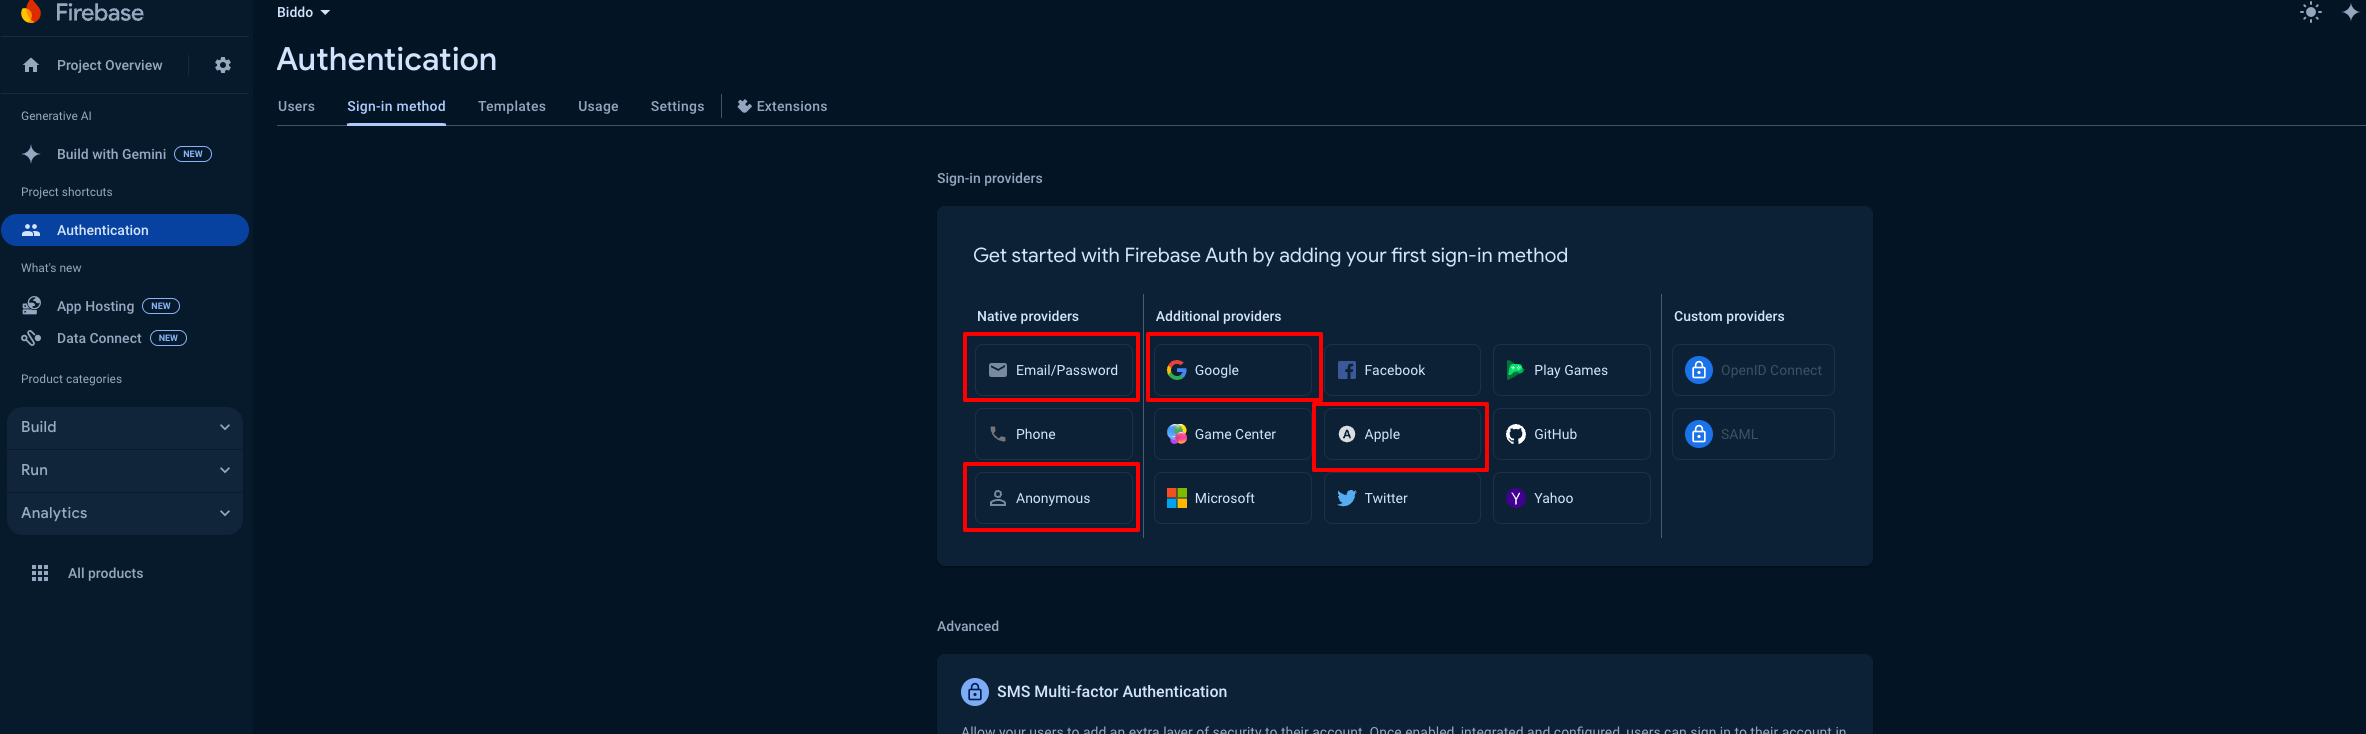
If you want the mobile number authentication to work, you also need to enable the “Phone” authentication method.
You just need to follow the steps from the Firebase Console, for each of them.
In order for the Apple Sign In to work, you need to add the Sign in with Apple capability to your project, from xcode. Select the Signing & Capabilities tab, and add “Sign In With Apple” as a new Capability then select a team on the Code Signing section.
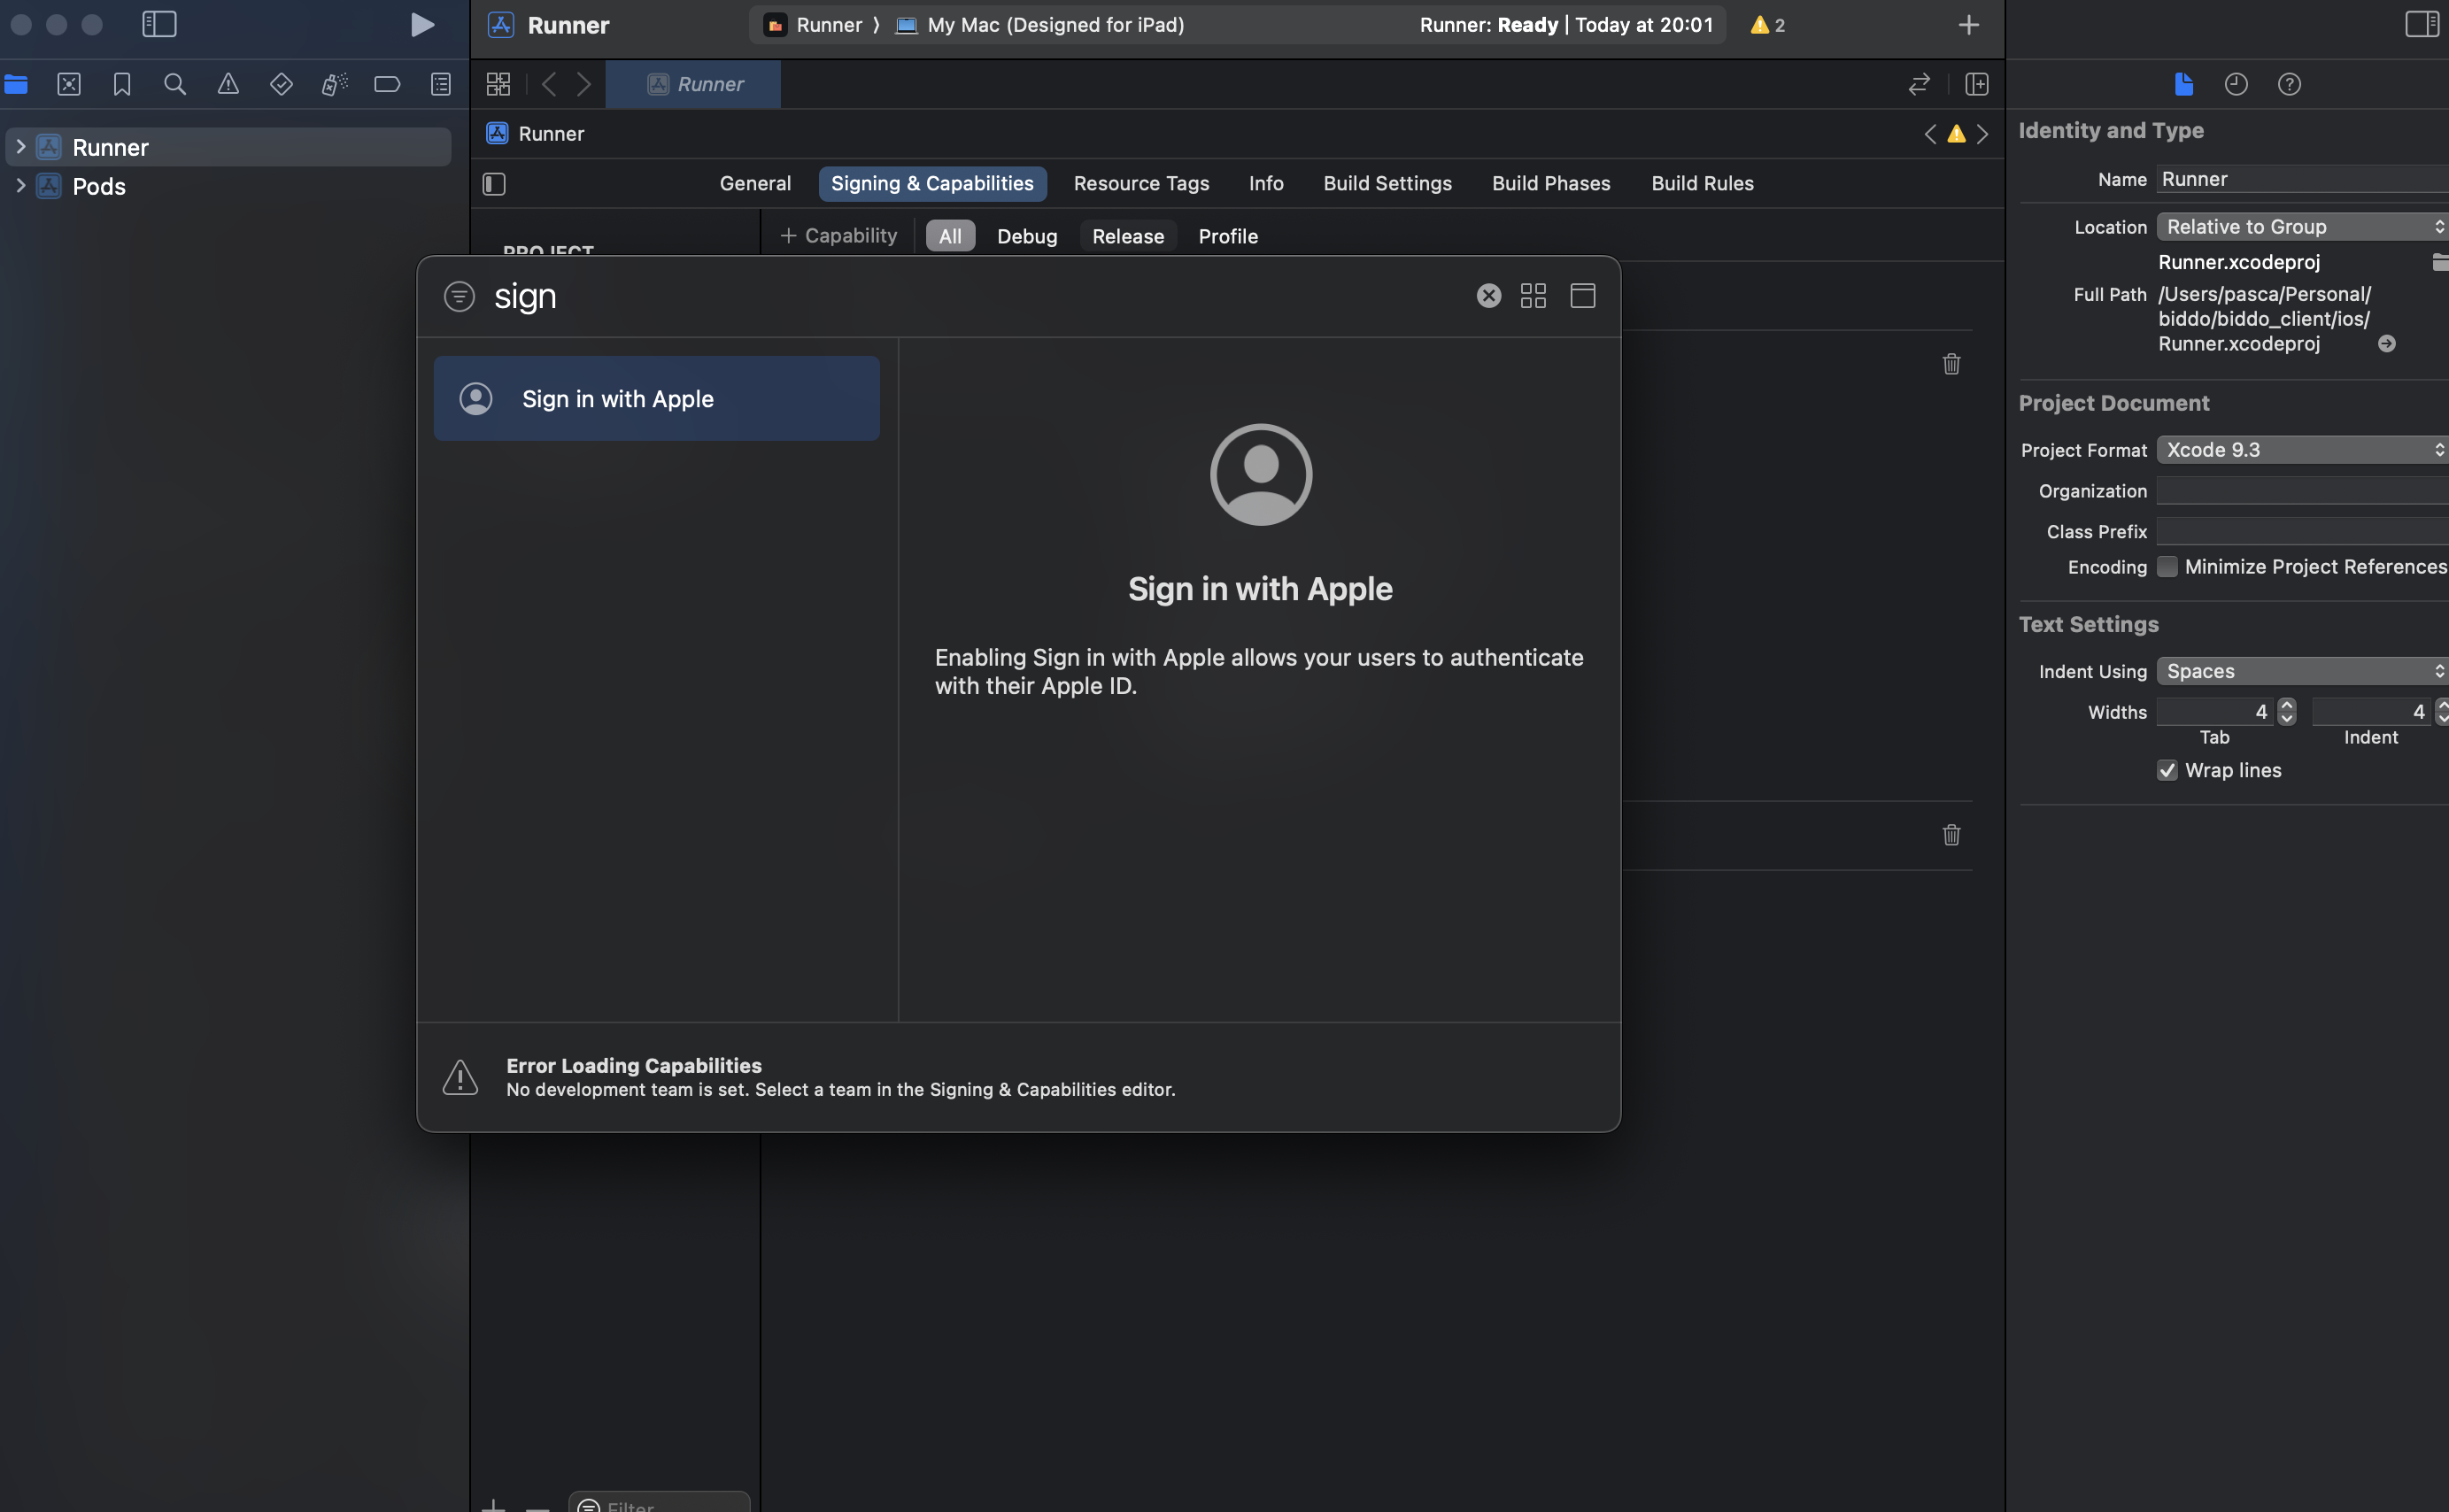
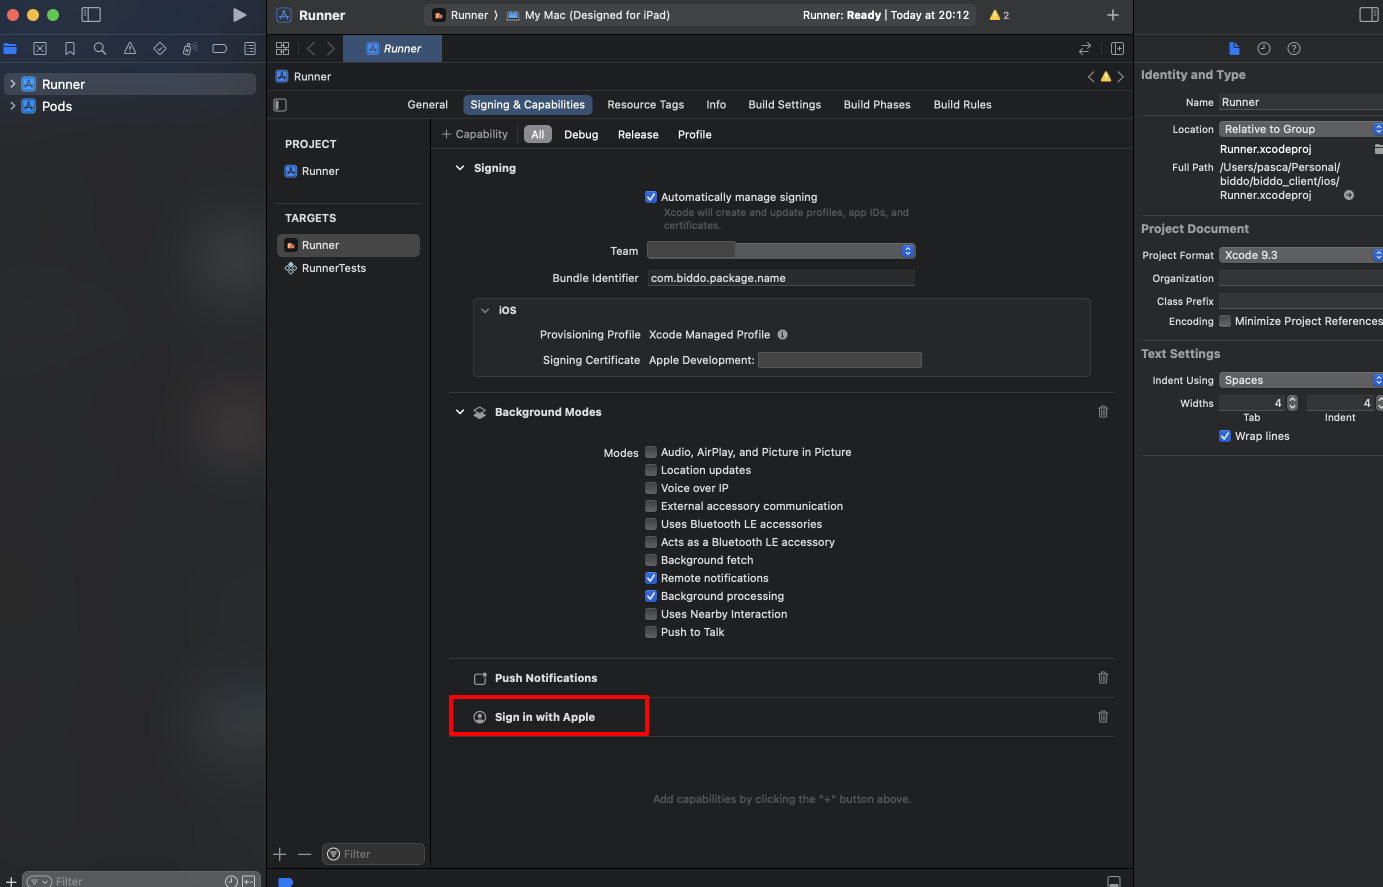
This will generate and configure an App ID in the “Certificates, Identifiers & Profiles” section of the Apple Developer portal.
Enable inside project
After you done all the steps above, you need to open a terminal inside the root directory of the mobile app and run the following commands, one after another:
firebase logindart pub global activate flutterfire_cliflutterfire configureMake sure you enable both android and ios when asked